Tripp Lite PDUH32HV19 Bruksanvisning
Tripp Lite
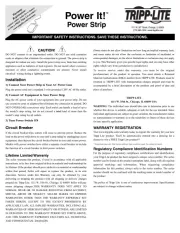
grenuttak
PDUH32HV19
Les nedenfor 📖 manual på norsk for Tripp Lite PDUH32HV19 (20 sider) i kategorien grenuttak. Denne guiden var nyttig for 11 personer og ble vurdert med 4.5 stjerner i gjennomsnitt av 6 brukere
Side 1/20
1
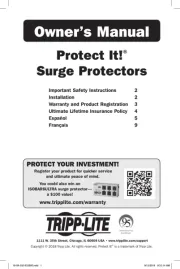
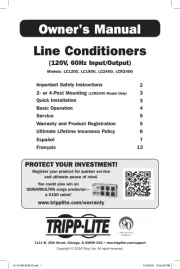
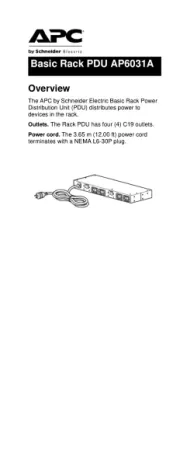
Basic Rack PDU
Important Safety Instructions 2
Important Warnings 2
Installation 3
Features 4
Warranty & Product Registration 4
Español 5
Français 9
Русский 13
Deutsch 17
Owner’s Manual
1111 W. 35th Street, Chicago, IL 60609 USA • www.tripplite.com/support
Copyright © 2019 Tripp Lite. All rights reserved.
PDUH30HV19
(Series Number: AG-00E6)
PDUH32HV19
(Series Number: AG-00E5)
PDUH30HV
(Series Number: AG-00E6)
PDUH32HV
(Series Number: AG-00E5)
PROTECT YOUR INVESTMENT!
Register your product for quicker service
and ultimate peace of mind.
You could also win an
ISOBAR6ULTRA surge protector—
a $100 value!
www.tripplite.com/warranty
21-03-409-9333BC.indb 121-03-409-9333BC.indb 1 4/1/2021 2:37:14 PM4/1/2021 2:37:14 PM
Produkspesifikasjoner
| Merke: | Tripp Lite |
| Kategori: | grenuttak |
| Modell: | PDUH32HV19 |
| Vekt: | 2870 g |
| Bredde: | 439.4 mm |
| Dybde: | 95.2 mm |
| Høyde: | 43.2 mm |
| Opprinnelsesland: | China |
| Pakkevekt: | 3210 g |
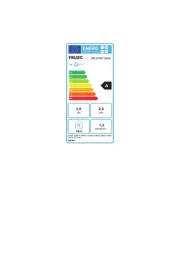
| AC-inngangsfrekvens: | 50 - 60 Hz |
| Kabellengde: | 3.66 m |
| Produktfarge: | Sort |
| Pakkedybde: | 285.8 mm |
| Pakkehøyde: | 76.2 mm |
| Pakkebredde: | 514.4 mm |
| Oppbevaringstemperaturomåde (Celsius): | -15 - 50 °C |
| Bærekraftsertifikater: | RoHS |
| Modell/Type: | Enkelfaset |
| Kroppsmateriale: | Metall |
| Montering: | Horisontal |
| Strømbeskyttelsesfunksjoner: | Overbelastning |
| Rack-kapasitet: | 1U |
| Relativ luftfuktighet under drift (H-H): | 5 - 95 |
| Maksimal styrke: | 7700 W |
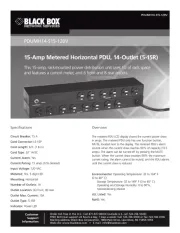
| Antall AC outlets: | 4 AC-utganger |
| Masterkassens (ytterkassens) GTIN (EAN/UPC): | 10037332183207 |
| Masterkassens (ytterkassens) bruttovekt: | 16270 g |
| Masterkassens (ytterkassens) lengde: | 533.4 mm |
| Produkter per masterkasse (ytterkasse): | 5 stykker |
| Masterkassens (ytterkassens) bredde: | 508 mm |
| Masterkassens (ytterkassens) høyde: | 304.8 mm |
| Strøm (maks.): | 32 A |
| AC-utgangstyper: | C19 kopling |
| Strømuttak: | IEC309 |
| Nominell innputspenning: | 200-240 V |
| PDU types: | Grunnleggende |
| Nominell outputspenning: | 200-240 V |
Trenger du hjelp?
Hvis du trenger hjelp med Tripp Lite PDUH32HV19 still et spørsmål nedenfor, og andre brukere vil svare deg
grenuttak Tripp Lite Manualer
18 August 2025
18 August 2025
18 August 2025
18 August 2025
18 August 2025

18 August 2025
18 August 2025
18 August 2025
18 August 2025
18 August 2025
grenuttak Manualer
- Apc
- CyberPower
- DataVideo
- Furman
- Adam Hall
- Icy Box
- Frilec
- Intellinet
- Salicru
- SKROSS
- Black Box
- Essentiel B
- REV
Nyeste grenuttak Manualer

12 Oktober 2025
9 Oktober 2025
6 Oktober 2025
5 Oktober 2025
5 Oktober 2025
4 Oktober 2025
4 Oktober 2025

2 Oktober 2025
2 Oktober 2025
2 Oktober 2025