JL Audio Stealthbox SB-F-FLX/10W3v3 Bruksanvisning
JL Audio
Ikke kategorisert
Stealthbox SB-F-FLX/10W3v3
Les nedenfor 📖 manual på norsk for JL Audio Stealthbox SB-F-FLX/10W3v3 (3 sider) i kategorien Ikke kategorisert. Denne guiden var nyttig for 12 personer og ble vurdert med 4.7 stjerner i gjennomsnitt av 6.5 brukere
Side 1/3
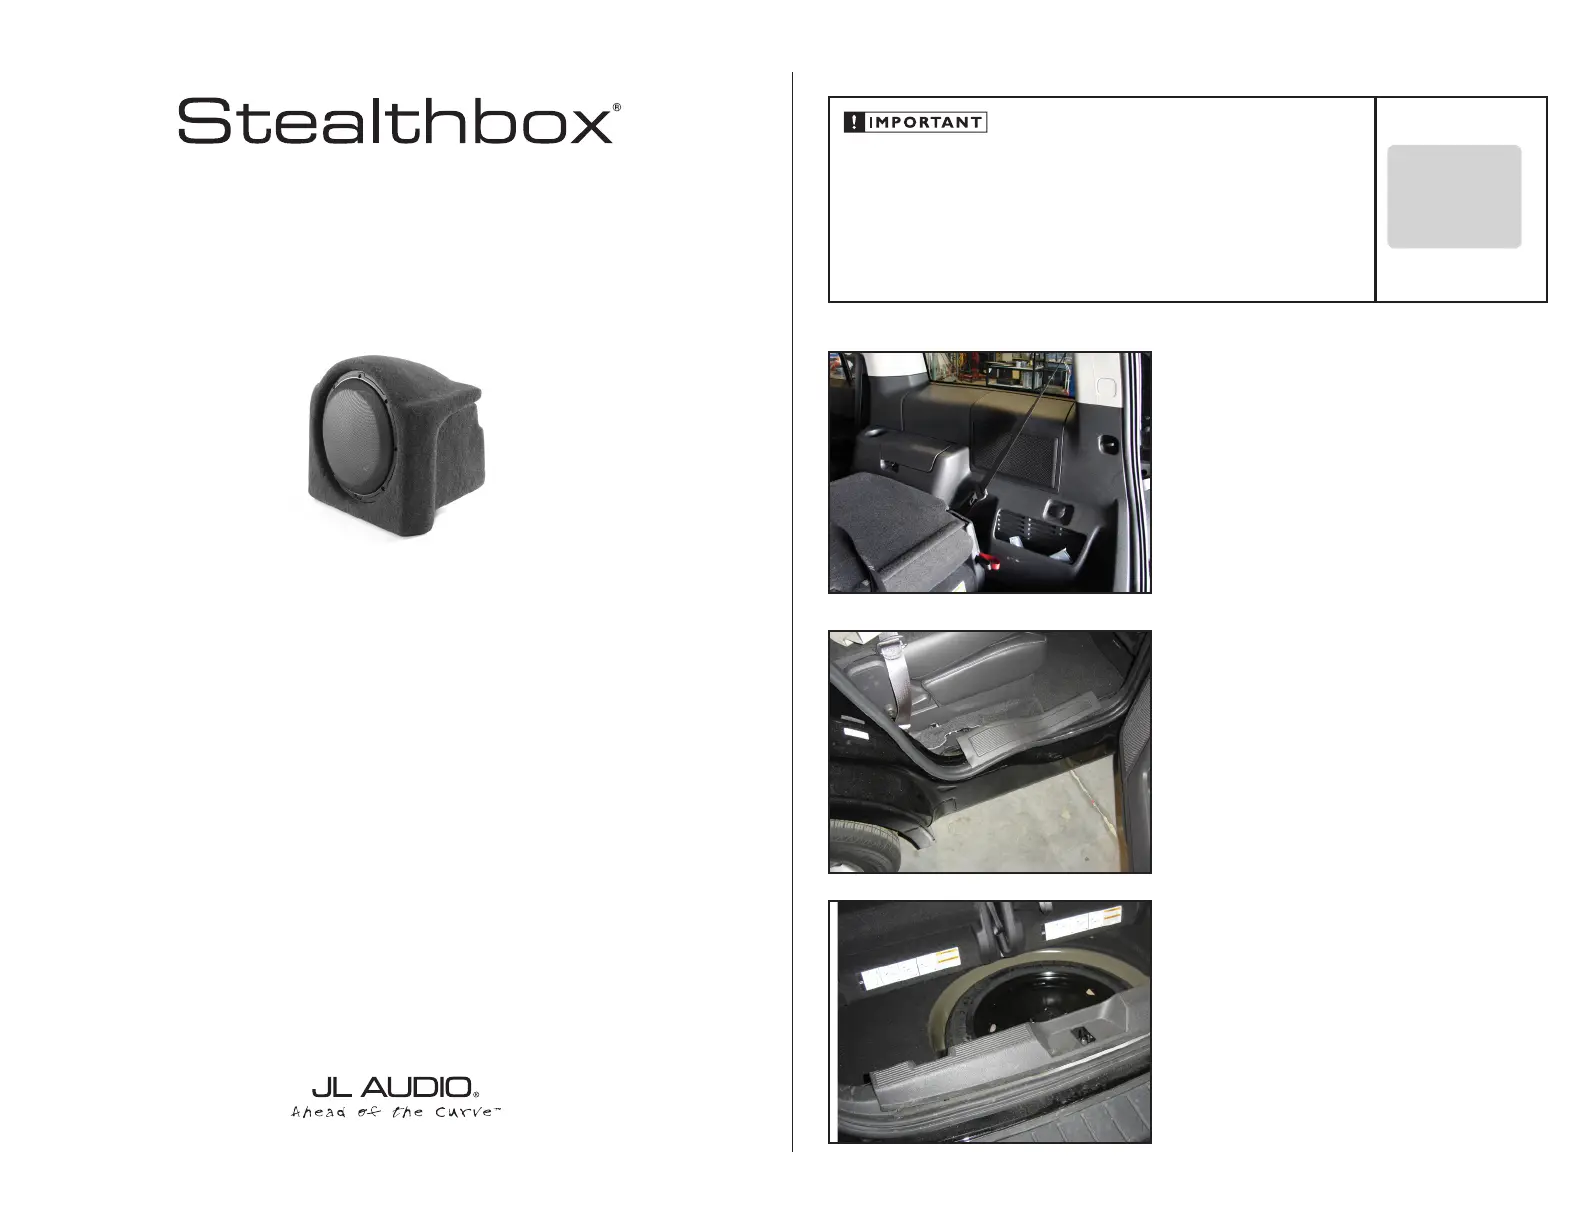
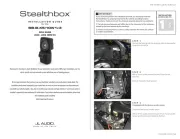
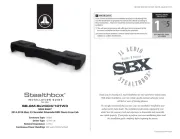
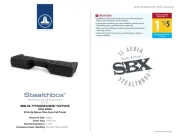
INSTALLATION GUIDE
for the
SB-F-FLX/10W3v3
SKU#94451
2009 & Up Ford Flex
Thank you for choosing a JL Audio Stealthbox
®
for your automotive sound system. With proper installation, your new vehicle-
specific enclosed subwoofer system will deliver years of listening pleasure.
We strongly recommend that you have your new Stealthbox
®
installed by your authorized JL Audio dealer. The installation
professionals employed by your dealer have the necessary tools and experience to disassemble and reassemble your vehicle
properly. Also, keep in mind that your warranty coverage extends to 2 years if your system is installed or approved by your
authorized JL Audio dealer. If you prefer to perform your own installation, please read this installation guide completely
before beginning the process.
If you choose to perform the installation yourself, it is absolutely vital that
the Stealthbox
®
be properly mounted to the vehicle according to these
instructions. Failure to mount the enclosure properly presents two problems:
1) The sub-bass performance will suffer due to the movement of the enclosure
caused by the force exerted by the woofer(s).
2) A loose enclosure presents a serious safety hazard in the event of a collision
or sudden deceleration.
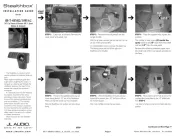
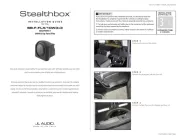
STEP 1
Empty out the back of the vehicle.
Continued on Next Page
STEP 2
Remove the passengers side rear door sill.
STEP 3
Remove the false floor and, the tailgate, and door sill.
SB-F-FLX-10W3v3 INSTR_SKU# 011293
INSTALLATION
DIFFICULTY:
3
5
OUT
OF
ESTIMATED TIME:
2-3 HOURS
Produkspesifikasjoner
| Merke: | JL Audio |
| Kategori: | Ikke kategorisert |
| Modell: | Stealthbox SB-F-FLX/10W3v3 |
Trenger du hjelp?
Hvis du trenger hjelp med JL Audio Stealthbox SB-F-FLX/10W3v3 still et spørsmål nedenfor, og andre brukere vil svare deg
Ikke kategorisert JL Audio Manualer
19 Oktober 2025
19 Oktober 2025
19 Oktober 2025
19 Oktober 2025
19 Oktober 2025
19 Oktober 2025
19 Oktober 2025
19 Oktober 2025
18 Oktober 2025
18 Oktober 2025
Ikke kategorisert Manualer
- Axor
- Seaga
- Cello
- Sissel
- Victor Pest
- Steba
- President
- Lazer
- Source Audio
- PTZ Optics
- Hoymiles
- Point Source Audio
- Laserliner
- Chimera
- Buzz Rack
Nyeste Ikke kategorisert Manualer

23 Oktober 2025

23 Oktober 2025

23 Oktober 2025

23 Oktober 2025

23 Oktober 2025

23 Oktober 2025

23 Oktober 2025

23 Oktober 2025

23 Oktober 2025

23 Oktober 2025