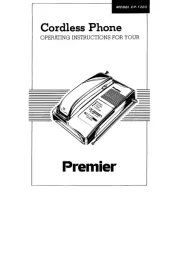
Premier Trentino Bruksanvisning
Les nedenfor 📖 manual på norsk for Premier Trentino (4 sider) i kategorien Telefon. Denne guiden var nyttig for 11 personer og ble vurdert med 4.4 stjerner i gjennomsnitt av 6 brukere
Side 1/4
GB-1
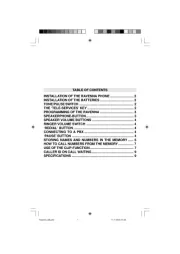
TABLE OF CONTENTS
INSTALLATION........................................................................ 2
TONE/PULSE SWITCH .......................................................... 2
THE ‘TELE-SERVICES’ KEY ................................................. 2
RINGER VOLUME SWITCH................................................... 2
REDIAL..................................................................................... 3
CONNECTING TO A PBX ...................................................... 3
HOW TO STORE NUMBERS IN THE MEMORY................. 3
HOW TO CALL UP A MEMORY NUMBER ........................... 4
‘PAUSE’ KEY ........................................................................... 4
‘MUTE’ KEY............................................................................. 4
NOTEBOOK KEY ................................................................... 4
HOW TO REPLACE A PROGRAMMED NUMBER............... 4
M_Trentino_GB_NEW.pmd 05.03.2003, 13:531
Produkspesifikasjoner
| Merke: | Premier |
| Kategori: | Telefon |
| Modell: | Trentino |
Trenger du hjelp?
Hvis du trenger hjelp med Premier Trentino still et spørsmål nedenfor, og andre brukere vil svare deg
Telefon Premier Manualer
3 September 2025
3 September 2025

3 September 2025
2 September 2025

2 September 2025
2 September 2025
Telefon Manualer
- AEG
- Jabra
- Samsung
- Huawei
- Microsoft
- Snom
- Olympia
- Crosley
- ClearOne
- On-Q
- Vogtec
- Sonim
- T-Mobile
- Hama
- Acer
Nyeste Telefon Manualer
18 Oktober 2025

17 Oktober 2025

17 Oktober 2025

17 Oktober 2025

16 Oktober 2025
16 Oktober 2025

16 Oktober 2025
13 Oktober 2025
12 Oktober 2025
12 Oktober 2025