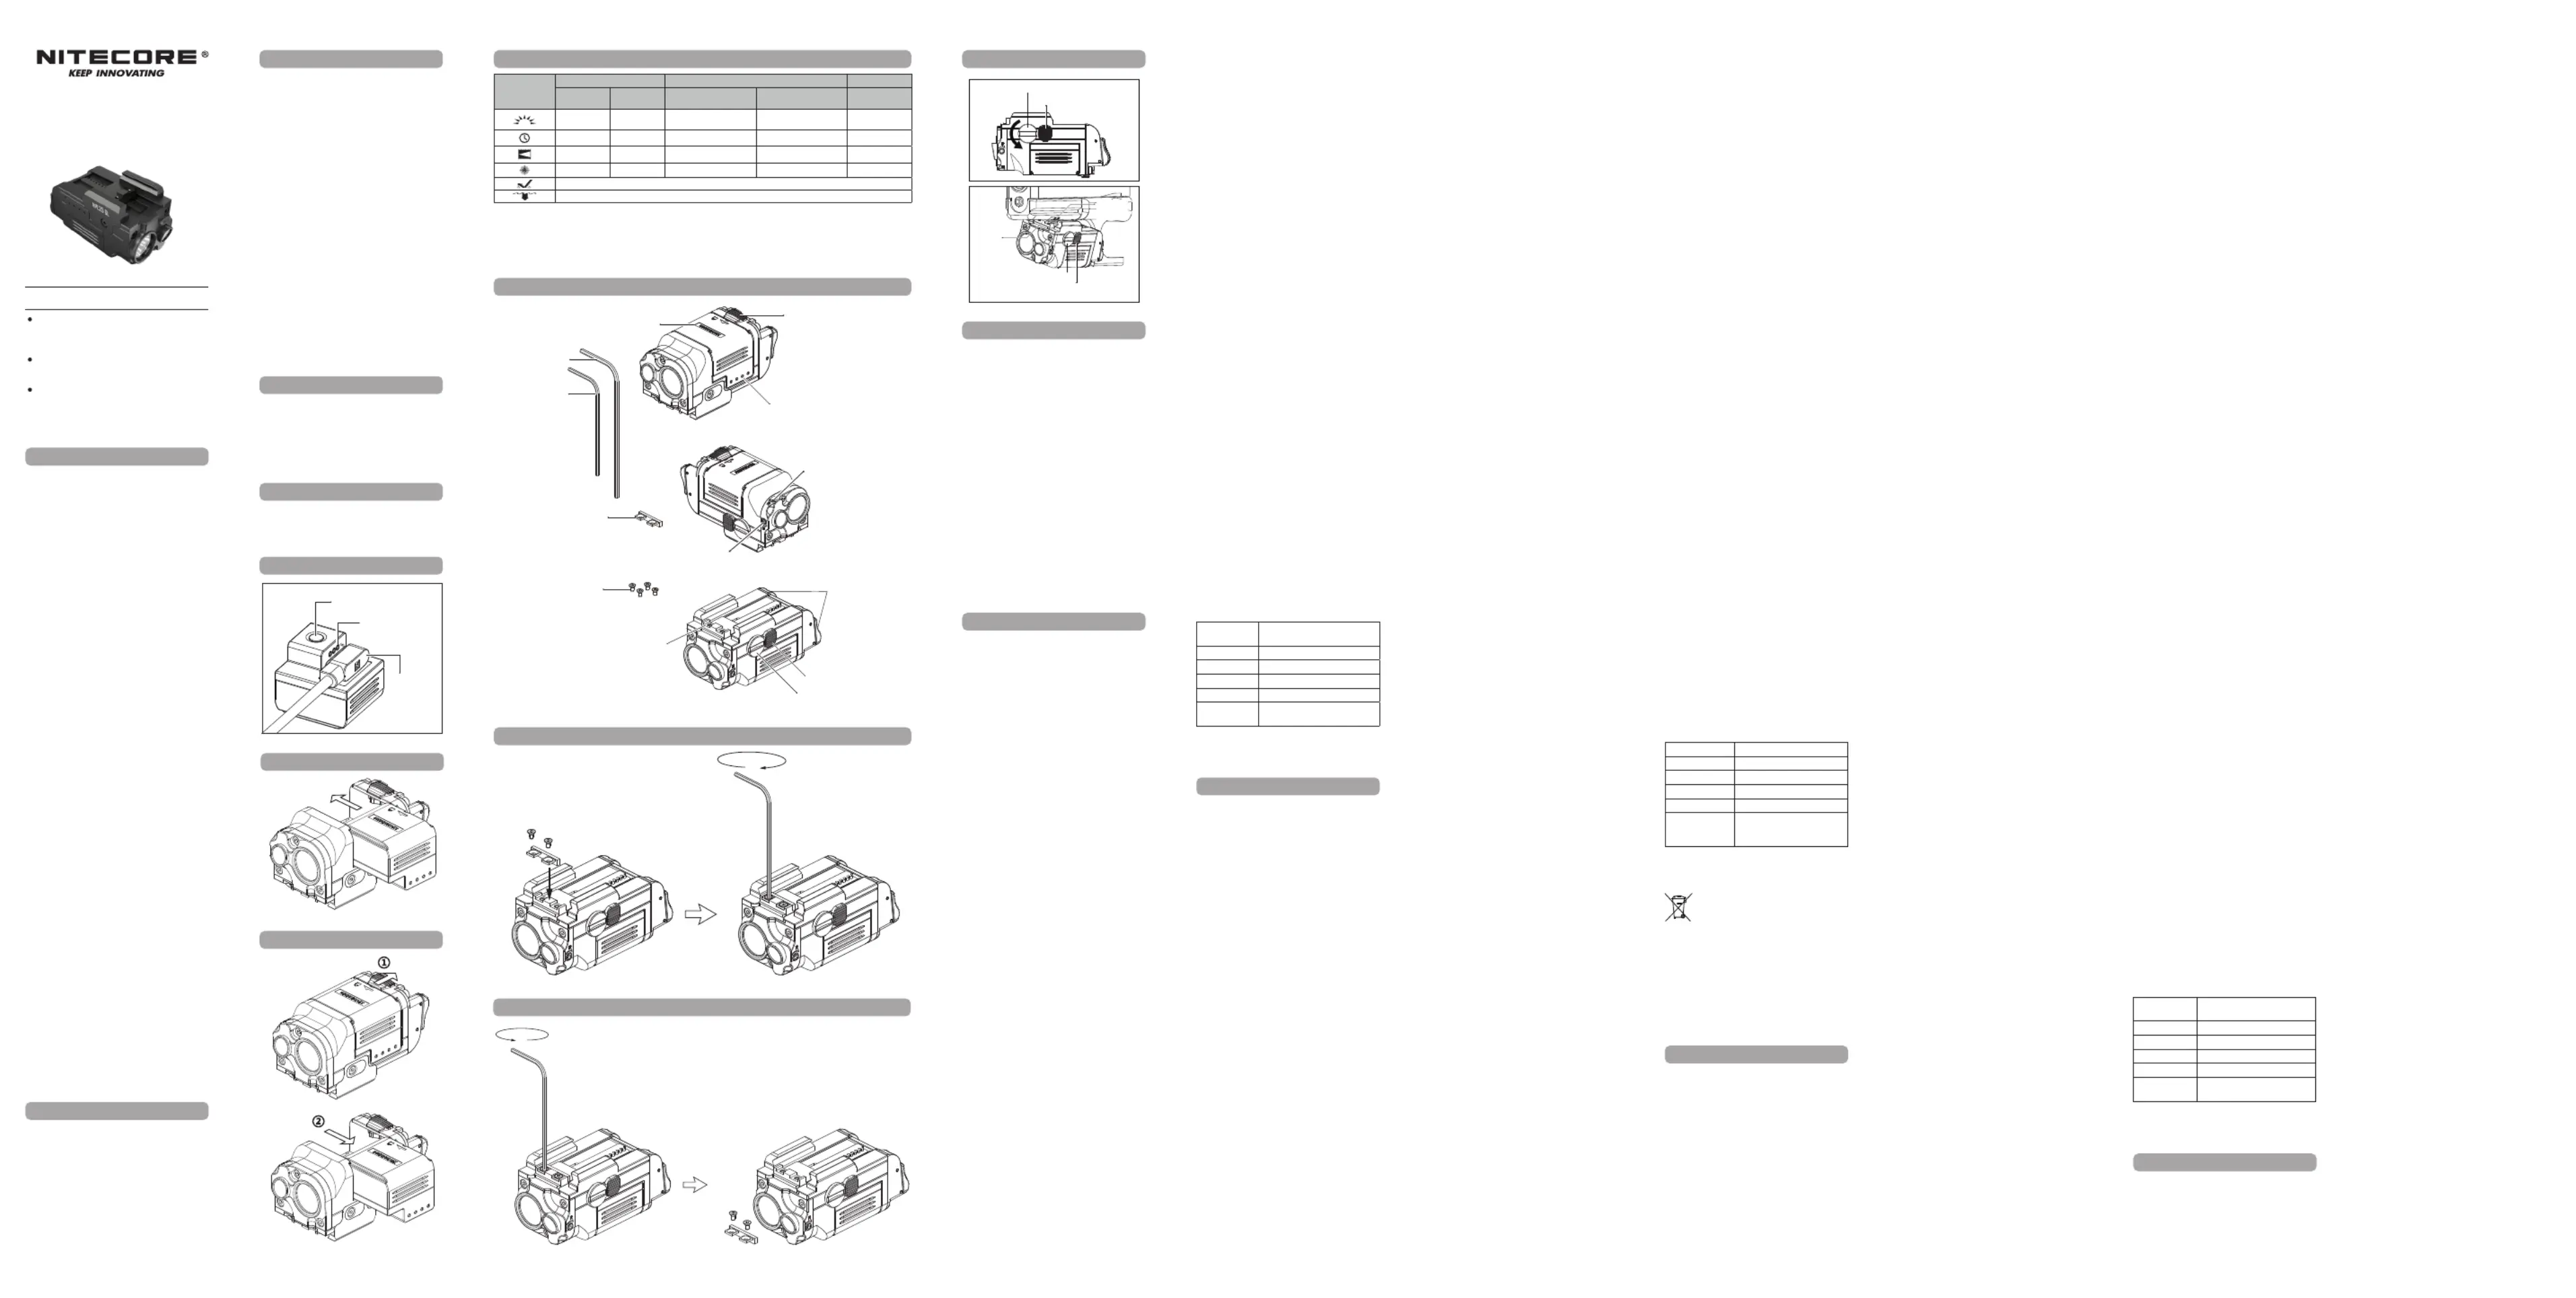
Nitecore NPL25 GL Bruksanvisning
Les nedenfor 📖 manual på norsk for Nitecore NPL25 GL (2 sider) i kategorien Lettelse. Denne guiden var nyttig for 24 personer og ble vurdert med 4.8 stjerner i gjennomsnitt av 12.5 brukere
Side 1/2
•Utilizes a UHi 25 LED with an output of 900
lumens
•Precise green laser aiming
(Class 3R, < 5mW, wavelength: 520nm)
•An optical system combined with crystal
coating and "Precision Digital Optics
Technology" (PDOT)
•Throw of 216 meters and peak beam
intensity of 11,900cd
•Powered by a Li-ion battery with a runtime
of 1 hour and 30 minutes
•Li-ion battery available with magnetic
charging function, providing convenience
and ease of use
•Compact and lightweight design, ideal for
carrying around
•Incorporated Advanced Temperature
Regulation (ATR) module
(Patent No. ZL201510534543.6)
•Recoil-proof design
•Tail-end dual button design
• Highlyecientconstantcurrentcircuit
provides a stable output
•Constructed from aero grade aluminum alloy
• HAIIImilitarygradehard-anodizednish
•Waterproof and dustproof rating in
accordance with IPX6
•Impact resistant to 2 meters
1. Alwaysmakesureyourrearmis
clear and unloaded before mounting/
dismounting the product or changing the
battery.
2. Always obey the safety regulations when
operating the rearms to avoid accidental
damage to personal health or property.
3. Always dismount the product when
maintaining and servicing the rearms.
4. This product is intended for use by
adults aged 18 and over. Please keep this
product out of the reach of children.
5. CAUTION! Possible dangerous radiation!
DO NOT stare directly into the light/laser
beam or shine the beam directly into the
eyes of anyone!
6. The product will generate massive heat
during prolonged operation. Please
exercise caution during use. It is
recommended not to use high brightness
levels for extended periods to prevent
burns and product damage.
7. DO NOT cover or place objects near the
head of the product, as this may cause
damage to the product or accidents due
to high temperatures.
8. DO NOT use the product to illuminate
ammable or explosive materials, as the
high heat may lead to combustion or
explosion.
9. Please use the product in a standard
manner to avoid accidents in the event of
product failure.
10. When the product is placed in an
enclosed or ammable environmentsuch
as a pocket or backpack, or when it is left
unused for an extended period, please
turn o the product to avoid accidental
activation and dangers caused by
excessive heat. Alternatively, remove the
battery to prevent damage from battery
leakage.
11. DO NOT expose the product to
temperatures above 60°C (140°F) for
prolonged time, as this poses a risk of
battery explosion or combustion.
12. Please recharge the product with
the original charging cable to avoid
shortening the lifespan of the battery.
13. Please recharge the product every 6
months when left unused for a prolonged
time.
14. DO NOT disassemble or modify this
product as doing so will cause damage
to it and render the product warranty
invalid. Please refer to the warranty
section in the manual for complete
warranty information.
Improper use of the battery may result in
severe battery damage or safety hazards
such as combustion or explosion. DO NOT
use damaged battery. DO NOT disassemble,
puncture, cut, crush, incinerate or short-
circuit the battery. If any leakage, abnormal
odor, or deformation is noticed, stop using
the battery immediately and dispose of it
properly. Dispose of the device/batteries in
accordance with applicable local laws and
regulations.
FL1
STANDARD
WHITE LIGHT WHITE LIGHT + LASER *LASER
HIGH LOW HIGH + GREEN LASER LOW + GREEN LASER GREEN LASER
900 Lumens 120 Lumens
900 Lumens +
Green Laser 5mW<
120 Lumens +
Green Laser 5mW<
<5mW
43min 1h 30min 43min 1h 30min 10h
216m 79m 216m 79m —
11,900cd 1,575cd 11,900cd 1,575cd —
2m (Impact Resistance)
IPX6
Note: The stated data is measured in accordance with the international ashlight testing standards ANSI/
PLATO FL 1-2019 using a Li-ion battery (500mAh) under laboratory conditions. The data may vary in real
world use due to dierent batteries or environmental conditions.
* The green laser (< 5mW, wavelength: 520nm) is Class 3R, complying with the standard IEC60825-1
requirements.
NPL25 GL
⚠IMPORTANT
Thanks for purchasing NITECORE!
Please read this manual carefully
before using the product and follow the
instructions.
This manual contains important safety
information and operating instructions.
Please keep it for future reference.
In case of updates, please refer to the
latest version available on the ocial
website.
User Manual
⚠Warning
⚠Battery Safety
Warnungen
1. Vergewissern Sie sich immer, dass Ihre
Waeungeladenist,bevorSiedas
Produkt montieren/demontieren oder die
Batterie wechseln.
2. Halten Sie sich beim Betrieb
der Schusswaen immer an
die Sicherheitsvorschriften, um
versehentliche Schäden an Gesundheit
oder Eigentum zu vermeiden.
3. Nehmen Sie das Produkt immer ab, wenn
Sie die Wae warten und instand halten.
4. Dieses Produkt ist für den Gebrauch
durch Erwachsene ab 18 Jahren
bestimmt. Bitte bewahren Sie dieses
Produkt außerhalb der Reichweite von
Kindern auf.
5. VORSICHT! Mögliche gefährliche
Strahlung! Blicken Sie NICHT direkt in
den Licht-/Laserstrahl und richten Sie
den Strahl nicht direkt in die Augen von
Personen!
6. Das Produkt erzeugt bei längerem Betrieb
große Hitze. Bitte seien Sie bei der
Benutzung vorsichtig. Es wird empfohlen,
hohe Helligkeitsstufen nicht über längere
Zeit zu verwenden, um Verbrennungen
und Produktschäden zu vermeiden.
7. Decken Sie den Kopf des Geräts NICHT
ab und platzieren Sie keine Gegenstände
in der Nähe des Geräts, da dies zu
Schäden am Gerät oder Unfällen
aufgrund der hohen Temperaturen führen
kann.
8. Verwenden Sie das Produkt NICHT
zur Beleuchtung von brennbaren oder
explosiven Materialien, da die hohe Hitze
zu Verbrennungen oder Explosionen
führen kann.
9. Bitte verwenden Sie das Produkt auf
normale Weise, um Unfälle im Falle eines
Produktausfalls zu vermeiden.
10. Wenn das Produkt in einer geschlossenen
oder entammbaren Umgebung, wie z.
Avertissements
1. Assurez-vous toujours que votre arme
à feu est en sécurité et qu'elle n'est pas
chargée avant de monter/démonter le
produit ou de changer la batterie.
2. Respectez toujours les règles de sécurité
lors de l'utilisation des armes à feu an
d'éviter tout dommage accidentel à la
santé ou aux biens.
3. Démontez toujours le produit lors de la
maintenance et de l'entretien des armes à
feu.
4. Ce produit est destiné à être utilisé par
des adultes âgés de 18 ans et plus.
Veuillez garder ce produit hors de portée
des enfants.
5. ATTENTION ! Risque de rayonnements
(English)
(Francais)
(Deutsch)
Features
Battery Removal
Installing the Picatinny Rail Adapter
Removing the Picatinny Rail Adapter
Product Overview
Charging Function
Mounting
Battery Installation
Specications
Accessories
Technical Data
Dimensions:
62.0mm x 33.0mm x 32.0mm
(2.44" x 1.30" x 1.26")
Weight:
57g / 2.01 oz (Battery Not Included)
74g / 2.61 oz (Battery Included)
Li-ion Battery, Magnetic Charging Cable,
Picatinny Rail Adapter, Small Wrench, Large
Wrench, Screw x 4
Battery Power Button
Magnetic
Charging Contacts
Magnetic
Charging Cable
Elevation Adjuster
Windage Adjuster
Glock Rail Stopper
Rail Adjustment Bolt
Power Indicators
Power Buttons
Battery Latch Lock
Rail Latch
Li-ion Battery
Large Wrench
Small Wrench
Screws
Picatinny Rail Adapter
Recoil
Groove
Stopper
Rail Adjustment Bolt
Rail Latch
Rail Adjustment Bolt
Rail Latch
Charging Function
The included Li-ion battery comes with
magnetic charging contacts. Please charge
the battery before the rst use.
Power Connection: Attach the magnetic
end of the charging cable to the battery and
connect the other end to an external power
supply (e.g. an adapter or other charging
devices) to begin charging. The charging time
is approx. 1 hour 10 minutes.
Charging Indication: During the charging
process, the power indicators will transition
gradually from ashing to a steady light, one
by one, displaying the battery level. When
the battery is fully charged, the 4 power
indicators will become steadily turned on.
Operation Instructions
Battery Installation / Removal
Battery Installation: Please insert the
battery as illustrated.
Battery Removal: As illustrated, slide the
Battery Latch Lock outward and then remove
the Li-ion battery.
Installing or Removing the
Picatinny Rail Adapter
The rail stopper of the NPL25 GL is factory
set to t Glock rail, and it can be adapted
to Picatinny rail by installing the Picatinny
rail adapter. Please use a small wrench, a
screwdriver, or other appropriate tools to
install or remove the rail adapter.
•Converting from a Glock rail stopper to a
Picatinny rail stopper: Align the Picatinny
rail adapter with the groove on the Glock
rail stopper and insert the mounting
screws. Tighten the screws clockwise with
the small wrench until the Picatinny rail
adapter is rmly secured. The NPL25 GLis
now adapted for Picatinny rail.
•Converting from a Picatinny rail stopper to
a Glock rail stopper: Use the small wrench
to loosen the two screws counterclockwise
on the Picatinny rail stopper and remove
the Picatinny rail adapter. The NPL25 GL is
now compatible with Glock rail.
Mounting
1. As illustrated, loosen the Rail Adjustment
Bolt counterclockwise.
2. Align the Stopper with the Recoil Groove of
the rail.
3. Press and hold the Rail Latch and slide
the NPL25 GL forward or backward to the
desired position. Then tighten the Rail
Adjustment Bolt clockwise to secure it.
dangeureux!Nexezpasdirectement
le faisceau lumineux/laser et ne projetez
pas le faisceau directement dans les yeux
de quelqu'un !
6. Le produit génère une chaleur importante
en cas de fonctionnement prolongé.
Veuillez faire preuve de prudence pendant
l'utilisation. Il est recommandé de ne pas
utiliser des niveaux de luminosité élevés
pendant des périodes prolongées an
d'éviter les brûlures et les dommages au
produit.
7. NE PAS couvrir ou placer d'objets près
de la tête du produit, car cela pourrait
endommager le produit ou provoquer
des accidents dus à des températures
élevées.
8. NE PAS utiliser le produit pour éclairer
des matériaux inammables ou explosifs,
car la chaleur élevée peut entraîner une
combustion ou une explosion.
9. Veuillez utiliser le produit de manière
appropriée an d'éviter tout accident en
cas de défaillance du produit.
10. Lorsque le produit est placé dans un
environnement clos ou inammable, tel
qu'une poche ou un sac à dos, ou lorsqu'il
n'est pas utilisé pendant une période
prolongée, veuillez l'éteindre an d'éviter
une activation accidentelle et les dangers
causés par une chaleur excessive.
Sinon, retirez la batterie pour éviter tout
dommage dû à une fuite de la batterie.
11. N'exposez PAS le produit à des
températures supérieures à 60°C (140°F)
pendant une période prolongée, car cela
présente un risque d'explosion ou de
combustion de la batterie.
12. Rechargez le produit avec le câble de
charge d'origine pour éviter de réduire la
durée de vie de la batterie.
13. Veuillez recharger le produit tous les 6
mois s'il n'est pas utilisé pendant une
période prolongée.
14.NEPASdémonteroumodierceproduit,
car cela l'endommagerait et rendrait la
garantie du produit invalide. Veuillez-vous
référer à la section garantie du manuel
pour des informations complètes sur la
garantie.
⚠ Sécurité de la batterie
Une utilisation incorrecte de la batterie peut
l'endommager gravement ou entraîner des
risques de sécurité tels que la combustion
ou l'explosion. N'utilisez PAS une batterie
endommagée. NE PAS démonter, percer,
couper, écraser, incinérer ou court-circuiter la
batterie. En cas de fuite, d'odeur anormale
ou de déformation, cessez immédiatement
d'utiliser la batterie et mettez-la au rebut
de manière appropriée. Recyclez l'appareil/
les piles conformément aux lois et
réglementations locales en vigueur.
Fonction de rechargement
La batterie Li-ion fournie est dotée de
contacts de charge magnétiques. Veuillez
recharger la batterie avant la première
utilisation.
Connexion à l'alimentation : Fixez
l'extrémité magnétique du câble de
chargement à la batterie et connectez l'autre
extrémité à une source d'alimentation externe
(par exemple, un adaptateur ou d'autres
dispositifs de chargement) pour commencer
le chargement. Le temps de charge est
d'environ 1 heure et 10 minutes.
Indication de charge : Pendant le
processus de charge, les indicateurs de
puissance passent progressivement du
clignotement à une lumière constante, un
par un, pour indiquer le niveau de la batterie.
Lorsque la batterie est entièrement chargée,
les 4 indicateurs d'alimentation s'allument de
manière xe.
Instructions d'utilisation
Installation et retrait de la
batterie
Installation de la batterie : Insérez la
batterie comme illustré.
Retrait de la batterie : Comme illustré,
faites glisser le verrou de la batterie vers
l'extérieur, puis retirez la batterie Li-ion.
Installation ou retrait de
l'adaptateur pour rail Picatinny
La butée du rail du NPL25 GL est réglée en
usine pour s'adapter au rail Glock, et peut
être adaptée au rail Picatinny en installant
l'adaptateur de rail Picatinny. Veuillez utiliser
une petite clé, un tournevis ou d'autres
outils appropriés pour installer ou retirer
l'adaptateur de rail.
•Conversion de la butée de rail Glock
en butée de rail Picatinny : Alignez
l'adaptateur de rail Picatinny avec la
rainure de la butée de rail Glock et insérez
les vis de montage. Serrez les vis dans le
sens des aiguilles d'une montre à l'aide de
la petite clé jusqu'à ce que l'adaptateur
de rail Picatinny soit fermement xé. Le
NPL25 GL est maintenant adapté au rail
Picatinny.
(Русский)
⚠ Меры предосторожности
1. Передустановкой/снятиемустройства
или заменой элемента питания всегда
проверяйте, что ваше огнестрельное
оружие является чистым и
незаряженным.
2. Всегдасоблюдайтеправилатехники
безопасности при эксплуатации
огнестрельного оружия во избежание
случайного нанесения вреда здоровью
или имуществу.
3. Всегда снимайтеустройство
при обслуживании и ремонте
огнестрельного оружия.
4. Данный продукт предназначендля
использования людьми 18 лет и
старше. Пожалуйста, храните продуктв
недоступном для детей месте.
5. ВНИМАНИЕ! Возможно опасное
излучение! Не направляйте лучсвета/
лазера в глаза! Это может нанести
вред их здоровью.
6. Придлительнойработеустройство
сильно нагревается. Пожалуйста,
соблюдайте осторожность при
эксплуатации. Рекомендуется не
использовать высокие уровни яркости
в течение длительного времени во
избежание ожогов и повреждения
фонаря.
7. НИЧЕМ НЕнакрывайтеголовную
часть устройства и НЕ размещайте
рядом с ней какие-либо предметы
во избежание несчастных случаев
вследствие воздействия высоких
температур.
8. НЕИСПОЛЬЗУЙТЕустройстводля
освещения легковоспламеняющихся
или горючих материалов, так как
высокая температура может привестик
возгоранию и даже взрыву.
9. Пожалуйста,используйтеустройство
стандартным способом во избежание
несчастных случаев при его
неисправности.
10.Еслиустройствопомещеновзакрытое
помещение или хранится в местах,
в пределах которых возможно
возгорание, например, в кармане
или рюкзаке, а также если вы
планируете не использовать егов
течение длительного периода времени,
выключите устройство во избежание
его случайной активации и несчастных
случаев, вызванных его перегревом.
Также вы можете просто извлечь
элемент питания, что помимо всего
прочего предотвратит утечку батареи.
11.НЕподвергайтеустройствовоздействию
температурсвыше60°C(140°F)в
течение длительного периода времени,
таккакэтосоздаетрисквзрываи
возгорания элемента питания.
12.Пожалуйста, осуществляйте заряд
устройства только с помощью
оригинального зарядного кабеляво
избежание сокращения срока службы
аккумулятора.
13.Пожалуйста,незабывайтезаряжать
устройство каждые 6 месяцев, если оно
не используется в течение длительного
периода времени.
14.НЕразбирайтеустройствоиНЕ
вносите какие-либо изменения вего
конструкцию, так как это приведет к
его повреждению, а также сделает
гарантию на продукт недействительной.
Полную информацию о гарантии
можно найти в разделе «Гарантийного
обслуживания» текущего руководства.
⚠ Безопасность аккумулятора
Неправильноеиспользованиеаккумулятора
может привести к его серьезному
повреждению или угрозе безопасности,
например возгоранию и даже взрыву.
НЕ используйте поврежденный элемент
питания. НЕ разбирайте, НЕ прокалывайте,
НЕ разрезайте, НЕ разбивайте, НЕ
поджигайте элемент питания и не
подвергайте его короткому замыканию.
При обнаружении какой-либо утечки,
необычного запаха или деформации
аккумулятора незамедлительно прекратите
использование элемента питания и
утилизируйте его надлежащим образом.
Утилизируйте устройство / элементы
питания в соответствии с действующим
законодательством и принятыми в вашем
регионе правилами.
Зарядка
Вкомплектвходитлитий-ионный
аккумуляторсмагнитнымиконтактамидля
зарядки. Пожалуйста, зарядите аккумулятор
перед первым использованием.
Подключение к источнику питания:
дляначалазарядкиприкрепитемагнитный
конец зарядного кабеля к аккумулятору, а
другойегоконецподключитеквнешнему
источнику питания (например, к адаптеру
или другому зарядному устройству). Время
зарядки составляет приблизительно 1 час
10минут.
Сообщение уровня заряда: во
времязарядкииндикаторыпитания
поочередно будут переходить от мигания
к постоянному горению, сообщая
таким образом уровень заряда. Когда
аккумулятор полностью зарядится, все
4 индикатора питания начнут гореть
беспрерывно.
•Conversion d'une butée de rail Picatinny
en une butée de rail Glock : Utilisez la
petite clé pour desserrer les deux vis dans
le sens inverse des aiguilles d'une montre
sur la butée de rail Picatinny et retirez
l'adaptateur de rail Picatinny. Le NPL25
GL est maintenant compatible avec le rail
Glock.
Montage
1. Comme illustré, desserrez le boulon de
réglage du rail dans le sens inverse des
aiguilles d'une montre.
2. Alignez la butée avec la rainure de recul du
rail.
3. Appuyez et maintenez le loquet du rail et
faites glisser la NPL25 GL vers l'avant ou
vers l'arrière jusqu'à la position souhaitée.
Serrez ensuite le boulon de réglage du rail
dans le sens des aiguilles d'une montre
pour le xer.
Réglage du laser
•Utilisez la grande clé pour ajuster le
dispositifderéglagedel'élévationande
déplacer le point laser vers le haut et vers
le bas.
•Utilisez la petite clé pour ajuster le
dispositif de réglage de la visée ande
déplacer le point laser vers la gauche et la
droite.
Éclairage tactique momentané
Appuyez sur l'un des boutons d'alimentation
et maintenez-le enfoncé pour allumer
momentanément la lumière. Relâchez le
bouton pour l'éteindre.
ON / OFF
Allumé : Lorsque la lumière est éteinte,
appuyez brièvement sur l'un des boutons
d'alimentation pour l'allumer.
Éteint : lorsque la lumière est allumée,
appuyez brièvement sur l'un des boutons
d'alimentation pour l'éteindre.
Le NPL25 GL est doté d'une fonction
mémoire. Lorsqu'il est réactivé, il accède
automatiquement au niveau/mode de
luminosité précédemment mémorisé.
Réglage des niveaux de
luminosité
Lorsque la lumière est allumée, appuyez
rapidement deux fois sur l'un des boutons
d'alimentation pour faire passer la lumière
blanche de HIGH à LOW.
Laser vert
Lorsque la lumière blanche est allumée,
appuyez sur l'un des boutons d'alimentation
et maintenez-le enfoncé, puis appuyez
brièvement sur l'autre bouton pour allumer la
lumière blanche et le laser.
Sélection du mode
Que la lumière soit allumée ou éteinte,
appuyez sur l'un des boutons d'alimentation
et maintenez-le enfoncé, puis appuyez
brièvement sur l'autre bouton pour faire
déler les modes « Lumière blanche + Laser-
Laser - Lumière blanche ».
ATR (régulation avancée de la
température)
La technologie ATR intégrée régule la
puissance du NPL25 GL en fonction des
conditions d’utilisation et de l'environnement
ambiant an de maintenir des performances
optimales.
Indication d'alimentation
Appuyez brièvement sur le bouton
d'alimentation de la batterie et les indicateurs
d'alimentation s'allument pour indiquer la
charge restante de la batterie. Lorsque la
batterie est faible, l'indicateur d'alimentation
clignote pour informer l'utilisateur, puis le
NPL25 GL s'éteint automatiquement.
Statut des
indicateurs
Niveau de puissance
4 Constants 75% – 100%
3 Constants 50% – 75%
2 Constants 25% – 50%
1 Constants 5% – 25%
1 Flash 0% – 5% (Veuillez charger
le produit dès que possible)
Laser Adjustment
• Use the large wrench to adjust the
Elevation Adjuster to move the laser dot up
and down.
• Use the small wrench to adjust the
Windage Adjuster to move the laser dot
left and right.
Tactical Momentary Illumination
Press and hold either Power Button to turn on
the light momentarily. Release to turn it o.
On / Off
On: When the light is o, shortpresseither
Power Button to turn it on.
O: When the light is on, short press either
PowerButtontoturnito.
The NPL25 GL is designed with a memory
function. When reactivated, it will
automatically access the previous memorized
brightness level/mode.
Brightness Levels Adjustment
When the light is on, quickly short press
either Power Button twice to switch the white
light between the HIGH and LOW.
Green Laser
When the white light is on, press and hold
either Power Button and short press the other
one to turn on the White Light + Laser.
Mode Selection
Whetherthelightison/o,pressandhold
either Power Button and additional short
presses of the other one to cycle through
"White Light + Laser – Laser – White Light".
ATR (Advanced Temperature
Regulation)
The integrated ATR technology regulates
the output of the NPL25 GL according to the
working condition and ambient environment
to maintain the optimal performance.
Power Indication
Short press the Battery Power Button and the
Power Indicators will light up to indicate the
remaining battery power. When the battery is
low, the power indicator will ash to inform
the user and then the NPL25 GL will turn o
automatically.
Status of
Indicators
Power Level
4 Constant-on 75% – 100%
3 Constant-on 50% – 75%
2 Constant-on 25% – 50%
1 Constant-on 5% – 25%
1 Flashing
0% – 5% (Please charge the
product as soon as possible)
B. einer Tasche oder einem Rucksack,
aufbewahrt wird, oder wenn es längere
Zeit nicht benutzt wird, schalten Sie
es bitte aus, um eine versehentliche
Aktivierung und Gefahren durch
übermäßige Hitze zu vermeiden. Nehmen
Sie alternativ die Batterie heraus, um
Schäden durch auslaufende Batterien zu
vermeiden.
11. Setzen Sie das Produkt NICHT über
einen längeren Zeitraum Temperaturen
über 60°C aus, da sonst die Gefahr einer
Explosion oder Verbrennung der Batterie
besteht.
12. Bitte laden Sie das Produkt mit
dem Original-Ladekabel auf, um die
Lebensdauer des Akkus nicht zu
verkürzen.
13. Bitte laden Sie das Produkt alle 6 Monate
auf, wenn es über einen längeren
Zeitraum nicht benutzt wird.
14. Dieses Produkt darf NICHT zerlegt
odermodiziertwerden,dadieszu
Schäden führt und die Produktgarantie
ungültig wird. Vollständige Informationen
zur Garantie nden Sie im Abschnitt
„Garantie“ in dieser Bedienungsanleitung.
⚠ Batteriesicherheit
Die unsachgemäße Verwendung des
Akkus kann zu schweren Akkuschäden
oder Sicherheitsrisiken wie Verbrennung
oder Explosion führen. Verwenden Sie
KEINE beschädigten Akkus. Die Batterie
darf NICHT zerlegt, durchstochen,
zerschnitten, zerquetscht, verbrannt oder
kurzgeschlossen werden. Wenn Sie ein
Auslaufen, einen ungewöhnlichen Geruch
oder eine Verformung feststellen, stellen
Sie die Verwendung des Akkus sofort ein
und entsorgen Sie ihn ordnungsgemäß.
Entsorgen Sie das Gerät/die Batterien gemäß
den geltenden örtlichen Gesetzen und
Vorschriften.
Lade-Funktion
Der mitgelieferte Li-Ionen-Akku verfügt über
magnetische Ladekontakte. Bitte laden Sie
den Akku vor dem ersten Gebrauch auf.
Stromanschluss: Schließen Sie das
magnetische Ende des Ladekabels an den
Akku an und verbinden Sie das andere Ende
mit einer externen Stromversorgung (z. B.
einem Adapter oder anderen Ladegeräten),
um den Ladevorgang zu starten. Die Ladezeit
beträgt ca. 1 Stunde und 10 Minuten.
Anzeige des Ladevorgangs: Während
des Ladevorgangs gehen die Stromanzeigen
schrittweise von Blinken zu Dauerlicht über
und zeigen so den Akkustand an. Wenn der
Akku vollständig geladen ist, leuchten die 4
Betriebsanzeigen dauerhaft.
Bedienungsanleitung
Einsetzen/Entfernen des Akkus: Bitte
legen Sie den Akku ein wie abgebildet.
Entnehmen des Akkus: Schieben Sie - wie
abgebildet - die Akkuverriegelung nach außen
und nehmen Sie den Lithium-Ionen-Akku
heraus.
Montage oder Demontage des
Picatinny-Schienenadapters
Der Schienenstopper des NPL25 GL ist
werkseitig auf die Glock-Schiene eingestellt
und kann durch die Montage des Picatinny-
Schienenadapters an die Picatinny-Schiene
angepasst werden. Bitte verwenden Sie
einen kleinen Schraubenschlüssel, einen
Schraubendreher oder andere geeignete
Werkzeuge, um den Schienenadapter zu
installieren oder zu entfernen.
• Umrüstung von einem Glock-
Schienenstopper auf einen Picatinny-
Schienenstopper: Richten Sie den
Picatinny-Schienenadapter an der Nut
des Glock-Schienenstoppers aus und
setzen Sie die Befestigungsschrauben ein.
Ziehen Sie die Schrauben mit dem kleinen
Schraubenschlüssel im Uhrzeigersinn
an, bis der Picatinny-Schienenadapter
fest sitzt. Das NPL25 GL ist nun für die
Picatinny-Schiene angepasst.
• Umrüstung von einem Picatinny-
Schienenstopper auf einen Glock-
Schienenstopper: Lösen Sie mit dem
kleinen Schraubenschlüssel die beiden
Schrauben gegen den Uhrzeigersinn am
Picatinny-Schienenstopper und entfernen
Sie den Picatinny-Schienenadapter. Das
NPL25 GL ist nun mit der Glock-Schiene
kompatibel.
Installation
1. Lösen Sie - wie abgebildet - die
Schieneneinstellschraube gegen den
Uhrzeigersinn.
2. Richten Sie den Stopper an der
Rückstoßnut der Schiene aus.
3. Drücken und halten Sie die
Schienenverriegelung und schieben Sie das
NPL25 GL nach vorne oder hinten in die
gewünschte Position. Ziehen Sie dann die
Schieneneinstellschraube im Uhrzeigersinn
an, um sie zu sichern.
Warranty Service
All NITECORE
®
products are warranted for
quality. Any DOA / defective product can be
exchanged for a replacement through a local
distributor/dealer within 15 days of purchase.
After that, all defective / malfunctioning
NITECORE
®
products can be repaired free
of charge within 60 months from the date
of purchase. Beyond 60 months, a limited
warranty applies, covering the cost of
labor and maintenance, but not the cost of
accessories or replacement parts.
Thewarrantywillbenulliedif
1. the product(s) is/are broken down,
reconstructed and/or modied by
unauthorized parties.
2. the product(s) is/are damaged due to
improper use.
For the latest information on NITECORE
®
products and services, please contact a local
NITECORE
®
distributor or send an email to
service@nitecore.com
Laser-Einstellung
•Verwenden Sie den großen
Schraubenschlüssel zum Einstellen der
Höhenverstellung und den Laserpunkt
nach oben und unten zu bewegen.
•Verwenden Sie den kleinen
Schraubenschlüssel, um den
Windvorhaltewinkel zu verstellen und
den Laserpunkt nach links und rechts zu
bewegen.
Tactische Momentbeleuchtung
Halten Sie eine der beiden EIN/AUS-
Tasten gedrückt, um das Licht kurzzeitig
einzuschalten. Lassen Sie sie los, um sie
auszuschalten.
EIN / AUS
EIN: Wenn das Licht ausgeschaltet ist,
drücken Sie kurz auf eine der beiden EIN/
AUS-Tasten, um es einzuschalten.
AUS: Wenn das Licht eingeschaltet ist,
drücken Sie kurz auf eine der beiden EIN/
AUS-Tasten, um es auszuschalten.
Das NPL25 GL ist mit einer Speicherfunktion
ausgestattet. Bei erneuter Aktivierung greift
es automatisch auf die zuvor gespeicherte
Helligkeitsstufe/den zuvor gespeicherten
Mode zu.
Einstellen der Helligkeitsstufen
Wenn das Gerät eingeschaltet ist, drücken Sie
zweimal kurz auf eine der beiden EIN/AUS-
Tasten, um das weiße Licht zwischen HIGH
und LOW umzuschalten.
Grüner Laser
Wenn das weiße Licht eingeschaltet ist, halten
Sie eine der beiden EIN/AUS-Tasten gedrückt
und drücken Sie kurz die andere, um das
weiße Licht und den Laser einzuschalten.
Auswahl des Mode
Unabhängig davon, ob das Licht ein- oder
ausgeschaltet ist, halten Sie eine der beiden
EIN/AUS-Tasten gedrückt und drücken Sie
zusätzlich kurz die andere, um zwischen
„Weißlicht & Laser“ – „Laser“ – „Weißlicht“ zu
wechseln.
ATR (Erweiterte
Temperaturregulierung)
Die integrierte ATR-Technologie regelt die
Leistung des NPL25 GL entsprechend den
Arbeitsbedingungen und der Umgebung, um
eine optimale Leistung zu gewährleisten.
Restenergie-Anzeige
Durch kurzes Drücken der Batterietaste
leuchten die LEDs auf, um die verbleibende
Batterieleistung anzuzeigen. Wenn
die Batterie schwach ist, blinkt die
Betriebsanzeige, und das NPL25 GL schaltet
sich automatisch aus.
LEDs Restenergie
4 Konstant-an 75% – 100%
3 Konstant-an 50% – 75%
2 Konstant-an 25% – 50%
1 Konstant-an 5% – 25%
1 blinkend
0% – 5% ( Bitte laden Sie
das Produkt so bald wie
möglich )
Entsorgung von Elektro- und
Elektronikgeräten
Die durchgestrichene Mülltonne
bedeutet, dass Sie gesetzlich
verpichtet sind, diese Geräteeiner
vom unsortierten Siedlungsabfall getrennten
Erfassung zuzuführen. Die Entsorgung über
die Restmülltonne oder die gelbe Tonne ist
untersagt. Enthalten die Produkte Batterien
oder Akkus, die nicht fest verbaut sind,
müssen diese vor der Entsorgung entnommen
und getrennt als Batterie entsorgt werden.
Produkspesifikasjoner
| Merke: | Nitecore |
| Kategori: | Lettelse |
| Modell: | NPL25 GL |
Trenger du hjelp?
Hvis du trenger hjelp med Nitecore NPL25 GL still et spørsmål nedenfor, og andre brukere vil svare deg
Lettelse Nitecore Manualer

2 April 2025

2 April 2025

30 Januar 2025

30 Januar 2025

5 Januar 2025

5 Januar 2025

31 Desember 2025

31 Desember 2025

15 Oktober 2024

15 Oktober 2024
Lettelse Manualer
- ADB
- HQ Power
- Showtec
- Litepanels
- Kern
- Setti+
- Aplic
- TFA
- TP Link
- Milwaukee
- Sonneman
- Kuzco
- Enttec
- Claypaky
- Be Cool
Nyeste Lettelse Manualer

9 April 2025

9 April 2025

8 April 2025

8 April 2025

8 April 2025

7 April 2025

6 April 2025

6 April 2025

6 April 2025

6 April 2025